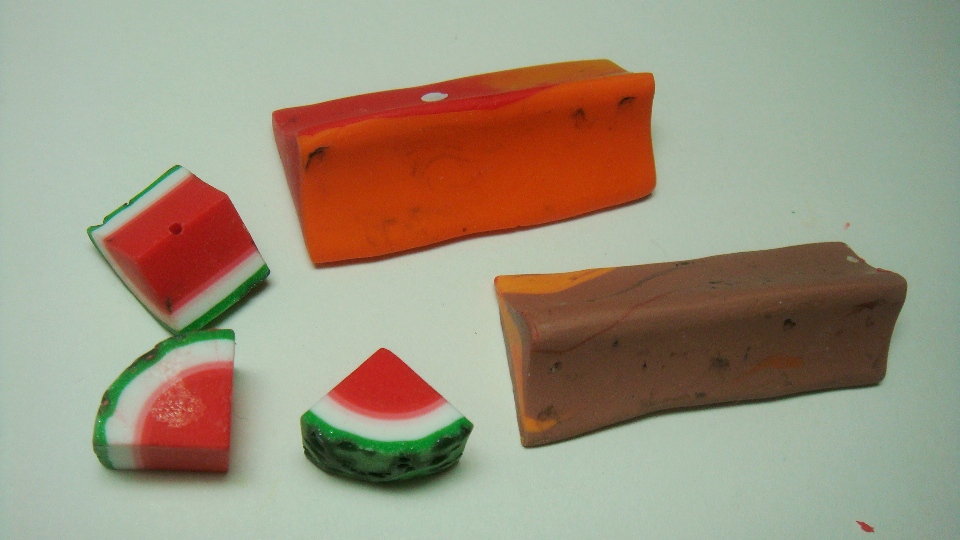
Cut into small section, poke a hole through and baked.


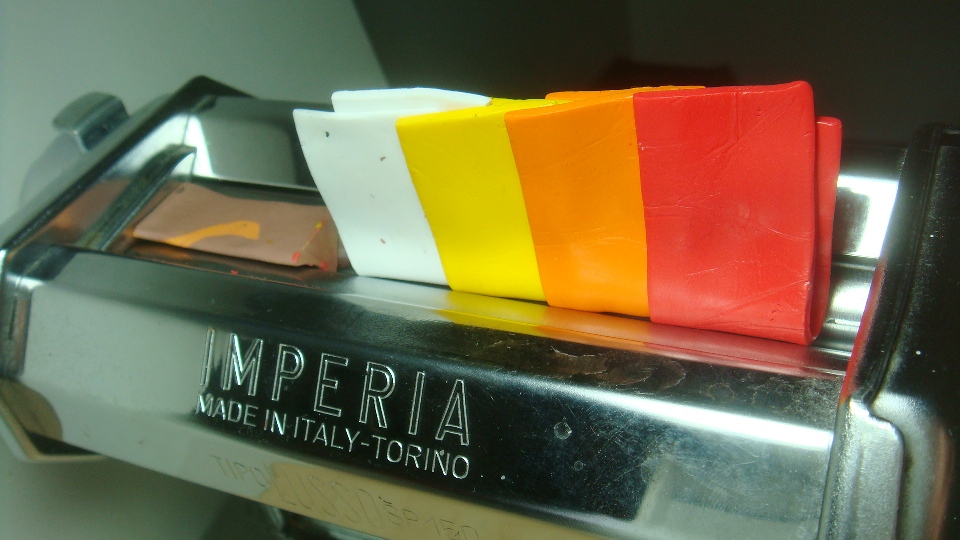 reducer until I get the strip of clay to the si
 ze that I want. In this case, about 2" wide.


Cut the strip of clay in to 5 pieces and stack them as shown. 
Cut off both ends of the stack and squeeze each end till it pointed.  Now you will get a log or a cane. Reduce the cane and shape it into a petal shape. Cut out several petal, 10 for each flower.

Stretch one of the petal out and roll it on to the small knitting needle to make the base for the flower. Make it plump like a pear shape. Then stick the petals on the base. Don't push the petals together, m ake them stick together lightly, that way the flower will look light and airly just like fresh flower. 4 petals inside
  and 5 on the outside and make the outside a bit lower than the inside row
  .
.

Add sepals and small stem with green clay.